The United States is home to a diverse array of landscapes and cultures, and among
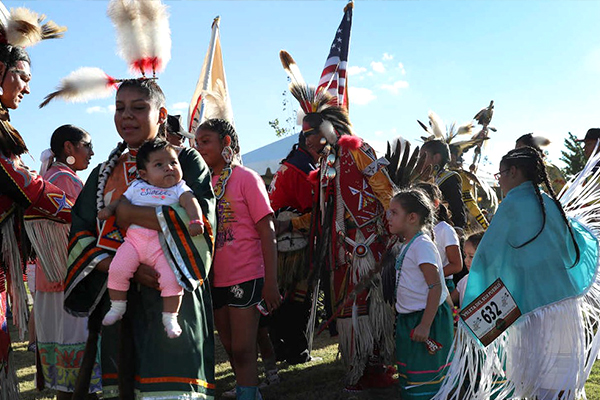
Exploring Native American culture offers a window into the diverse traditions, histories, and contemporary experiences
The trails and pathways that crisscross the United States are not merely routes from one
The United States is a vast landscape of diverse cultures, histories, and traditions, many of
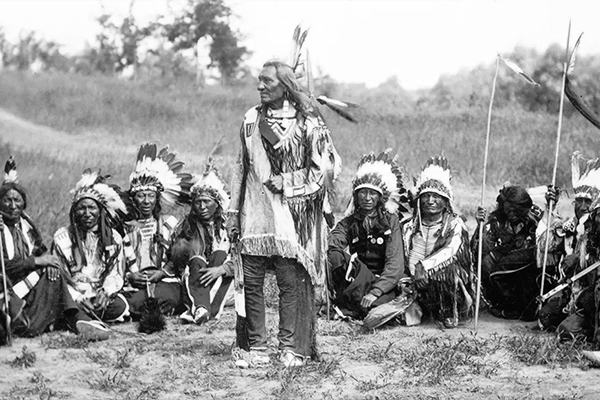
The cultural richness and history of Native American tribes have long shaped the United States
Explore Must-See Museums and Centers Dedicated to Preserving Native American History and Traditions Native American
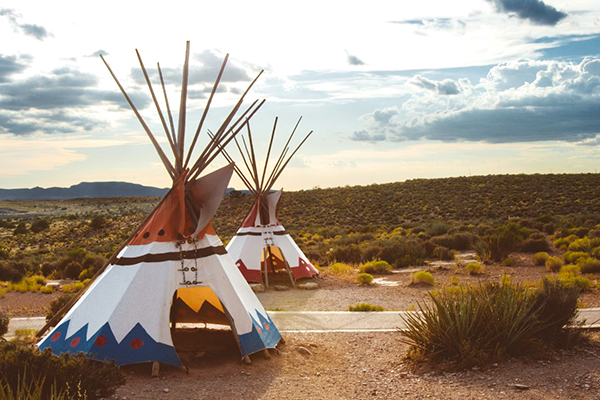
Tips for Visiting Sacred Sites with Respect, Including Key Places Like Monument Valley and Bear
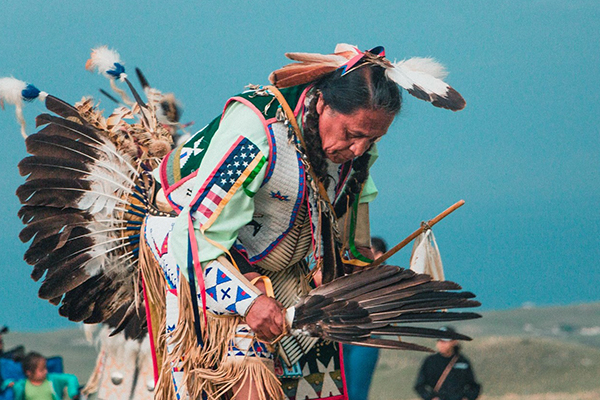
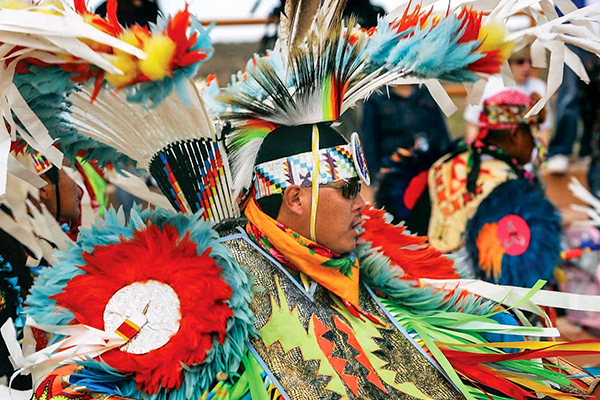
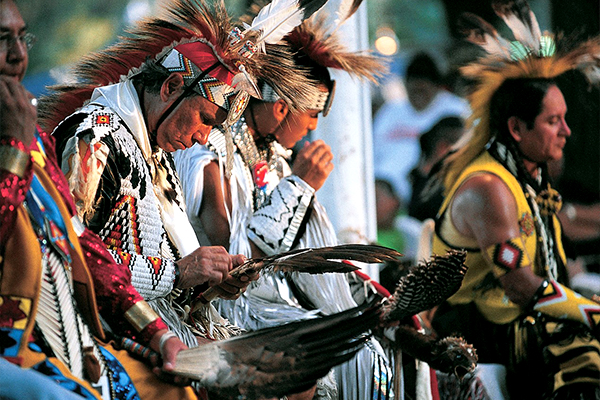
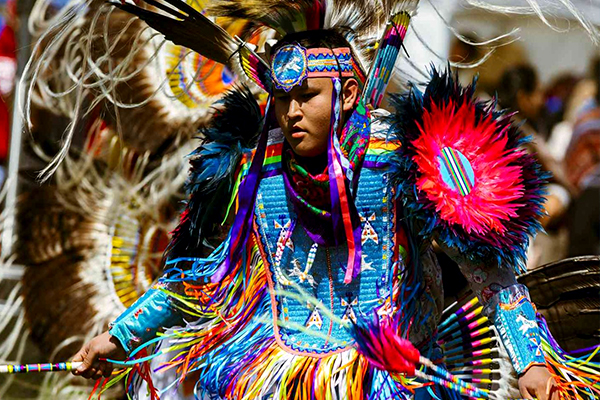
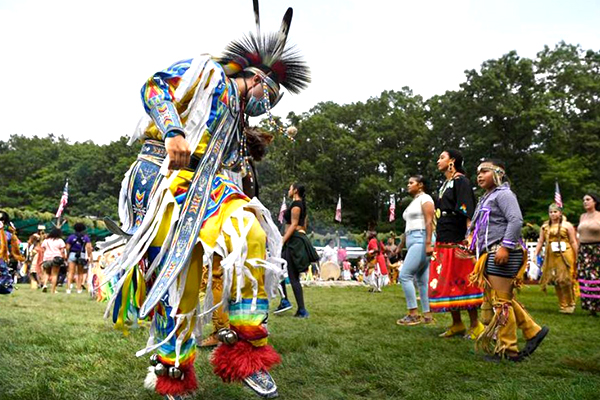
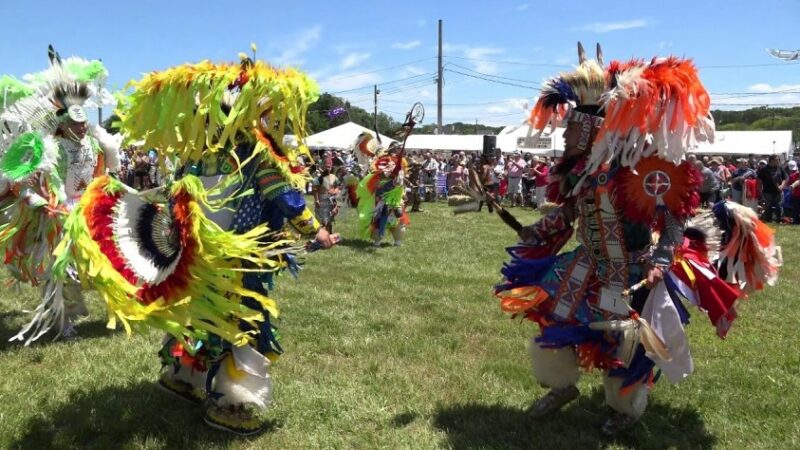
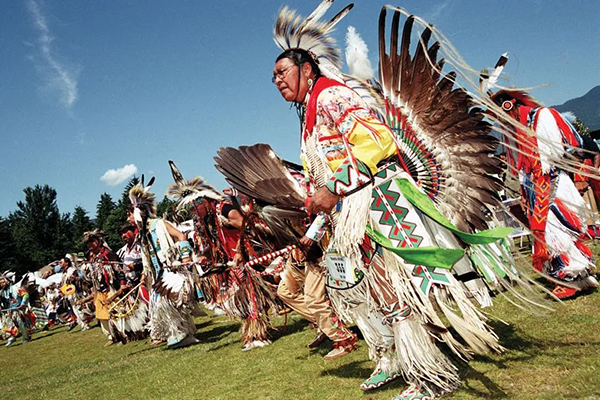
A Guide to Vibrant Native American Festivals and Powwows Where Travelers Can Experience Indigenous Culture
Learn About the Rich Traditions, History, and Customs Preserved Within Native American Reservations The history
Discover the Top Destinations to Immerse Yourself in Native American Culture and History The United